 Well it's about time right? Yes I know you have all been waiting.... well at least I hope you have been. I have finally finished the pattern and sewn the doll together.
The pattern is available on my deviant art page, I had to scan it and it would not fit on a single page so it is in four parts. Part 1 Part 2 Part 3 Part 4 (sorry its a little scribbled just cut out the pieces around the black line) I hand sew the pieces together so if you do not plan on doing this I would give ample room around the pattern to allow for a machine seam.
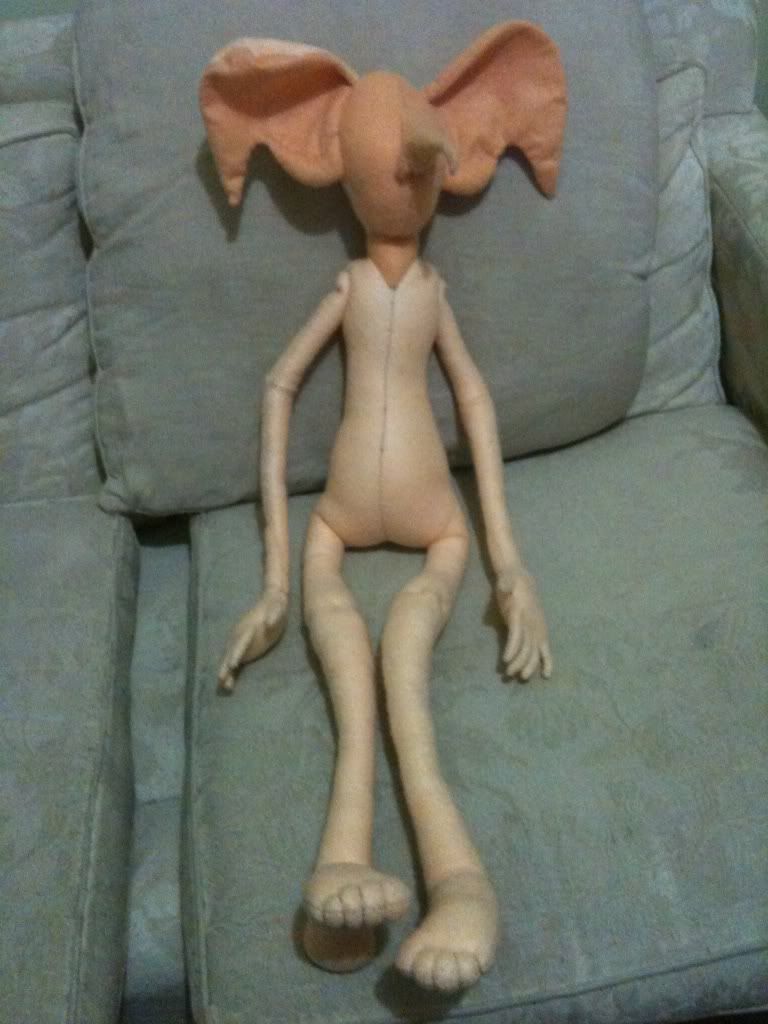
The finished product (before the eyes and clothing have been added should look similar to the photo added!
I had to use about 8 sheets of flesh colored felt, where I traced the pattern pieces onto them to save as much space as possible. While the pattern is pretty much self explanatory I will still share a few helpful hints. When working with the hands and arms, the best course of action is to sew the hands and turn them right side out, then sew the arms and attach them to the wrists. The fingers are hard to turn, I suggest using a pin to coax them up so you don't rip your seams or your felt, or you can try using a small long object that is rounded on the end such as a crochet hook because this will also not poke holes in your material. Leave an opening at the back of the body so you are able to stuff and turn out the rest of the body, stuff it so it is as hard or as soft as you wish and then sew up the back.
After you have finished the body it's time for the little details such as the knees/toes/elbows. These are quite simple and as the pattern suggests where you should put them (the elbows and knees have been slightly enlarged to stand out (as they do on Dobby the House elf from Harry Potter), and as you can see from the image I have added where to put the toes. The arms will need to be attached separately, this is so they can move freely like a normal doll's arms would move, and this can be achieved by using flesh colored thread and a doll needle (the really long ones you can get from any craft shop)
As for the eyes, I have chosen to use polymer clay. White clay for the eyeball, brown for the iris, and black for the pupil then hot glued them to the face. Then you just take some light pink fabric paint and use it to paint on a mouth, or you can embroidery it if you are good at sewing, take some scrap material or a shabby pillow case and use it for a tunic, you can choose to make a belt if you wish!
And there you have it, a free pattern and instructions on how to make your very own house elf from harry potter! If you have any questions just leave it in the comments and I will try my best to answer it!
Still on the menu so to speak: more golden snitches and mice, as well as some house bags and magic wands!
No comments:
Post a Comment